
A home office without a spare room sounds like a contradiction — until you stop looking at the floor and start looking at the wall. A floating desk plus a column of storage above it fits a genuine, permanent workspace into 120cm of wall, keeps every centimeter of floor visible, and clears in thirty seconds at day's end.
Why it works
Legless furniture is the small room's cheat code: with floor visible running under the desk, the room keeps its full sightlines and reads nearly as large as it did empty. A freestanding desk of identical size feels twice as intrusive because it interrupts the floor plane.
Stacking the storage vertically above the desk keeps the entire workspace inside one wall column. Nothing spreads sideways into the room, and everything you need during work is one arm's reach up — which is also why the end-of-day clear-down is fast enough to actually happen.
And because the desk mounts at exactly your height with cables trayed underneath, the setup is ergonomically and visually cleaner than most full-size offices: no cable spaghetti, no drawer pedestal collecting junk.
How to do it
Step 1
Find 120cm of unbroken wall — an alcove, a landing, the wall behind a bedroom door — and check for studs or solid masonry; the mounting substrate decides everything.
Step 2
Mount the desktop at 72–75cm to the top surface using heavy-duty brackets rated well beyond your equipment weight, fixed into studs or masonry, never hollow-wall plugs alone.
Step 3
Screw a cable tray under the rear edge; run the power strip, chargers and monitor cables into it so a single cord drops to the socket.
Step 4
Add one or two floating shelves above, matched to the desk's width, for books, files and the printer — the workspace grows upward, never sideways.
Step 5
Fit a slim rail or pegboard between desk and first shelf for headphones, notebooks and chargers, keeping the desktop itself clear for work.
Step 6
Choose a chair that tucks fully under the desk so the walkway returns when work ends.
Step 7
Adopt the end-of-day rule: surface completely clear, chair tucked, laptop on the shelf. Thirty seconds, and the room goes back to being a room.
Keep organizing
- Built-In Home Office Storage That Hides the Clutter
- Small Kitchen Storage: Vertical Tricks for Tight Galleys
- The slate & burl floating office pictured here
Hand-picked guides and room designs that pair well with this project.
Frequently AskedQuestions
About 120cm of wall width and 45–55cm of depth for a comfortable laptop-plus-monitor setup, plus roughly 75cm of clearance for the chair. Alcoves and landings that could never fit a freestanding desk usually clear this bar.
Properly mounted into studs or masonry with heavy-duty brackets, 50kg or more — monitor, laptop and leaning elbows included. The mounting, not the desktop, is what matters: never rely on hollow-wall plugs alone.
72–75cm to the top surface for most adults, matching a standard desk. Wall mounting lets you tune it exactly to your chair and elbows — one advantage over freestanding furniture.
Screw a cable tray or basket under the rear edge of the desktop, run everything into it, and drop a single cable to the socket inside trunking painted to match the wall. The floor stays empty, which is the whole point.
Get the look
Room Designsto Steal
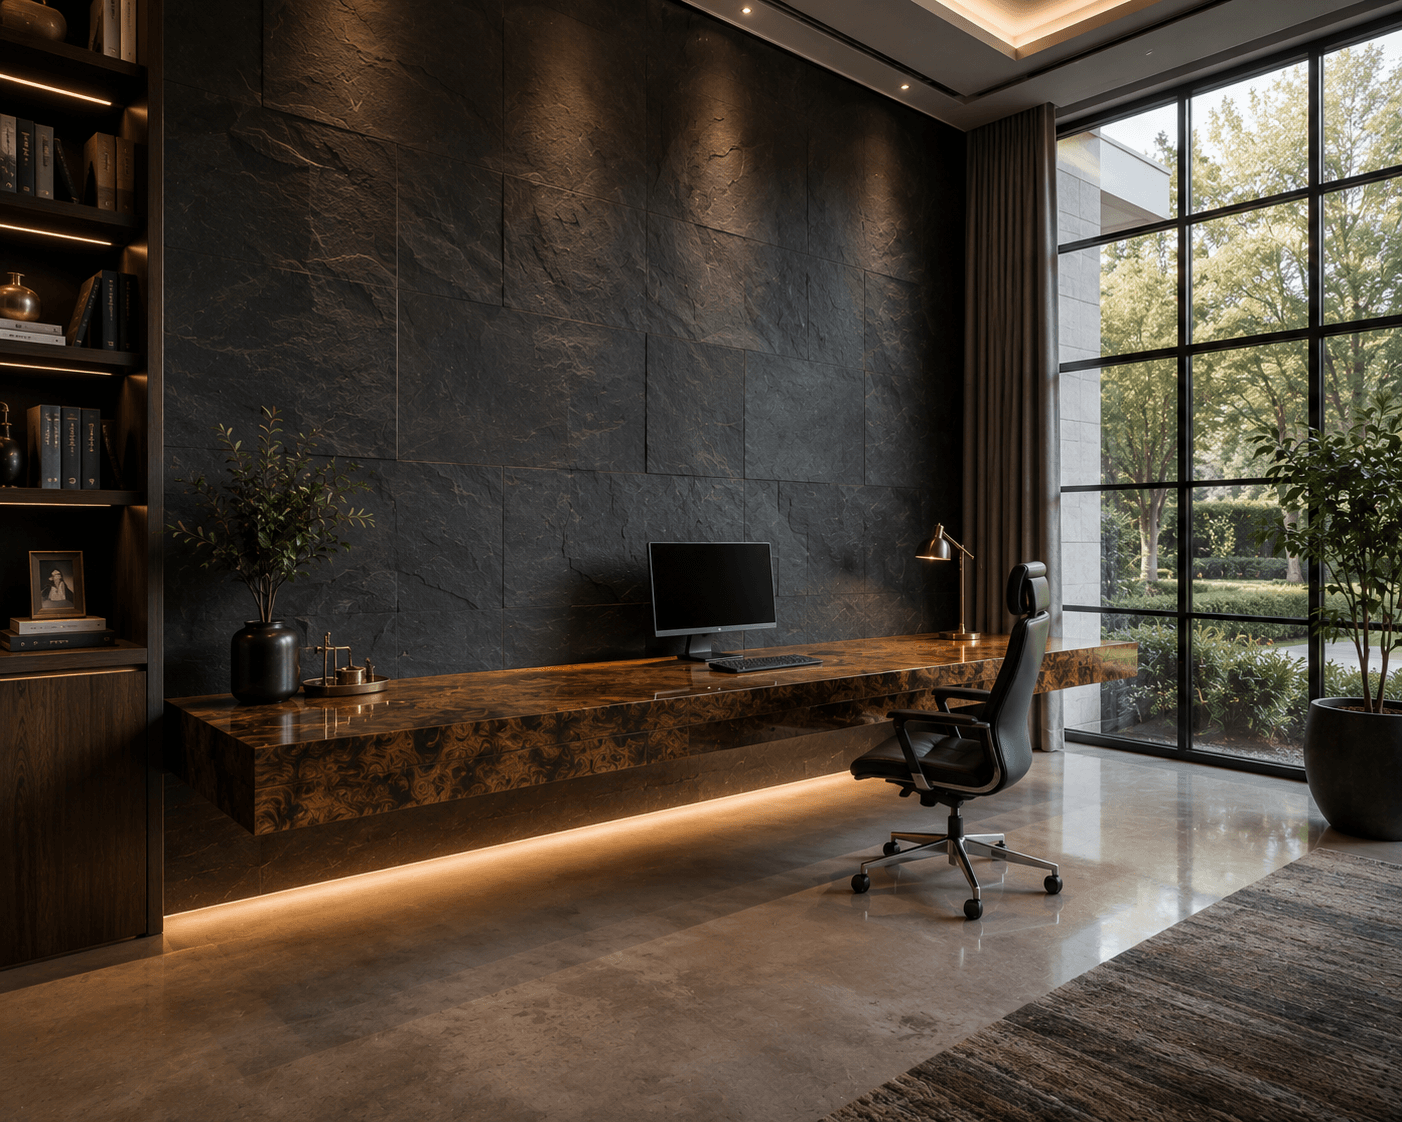
A Slate Stone Office Wall with a Floating Burl Desk
July 21, 2026
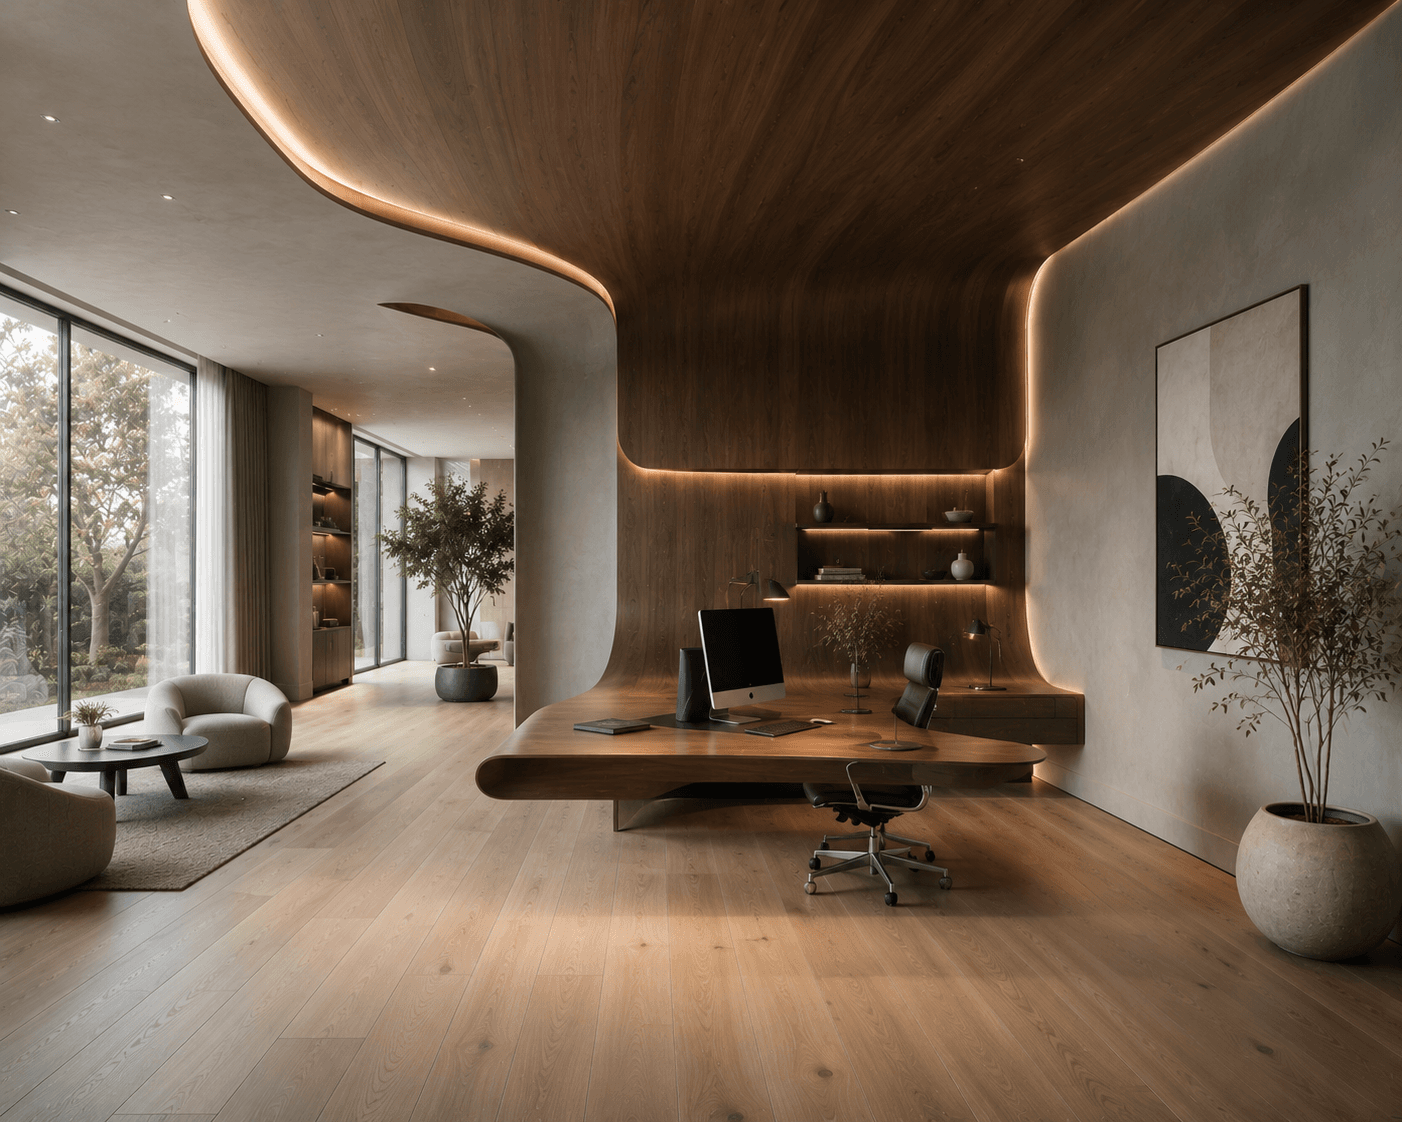
A Sculptural Walnut Ribbon Office with a Curved Desk
July 21, 2026
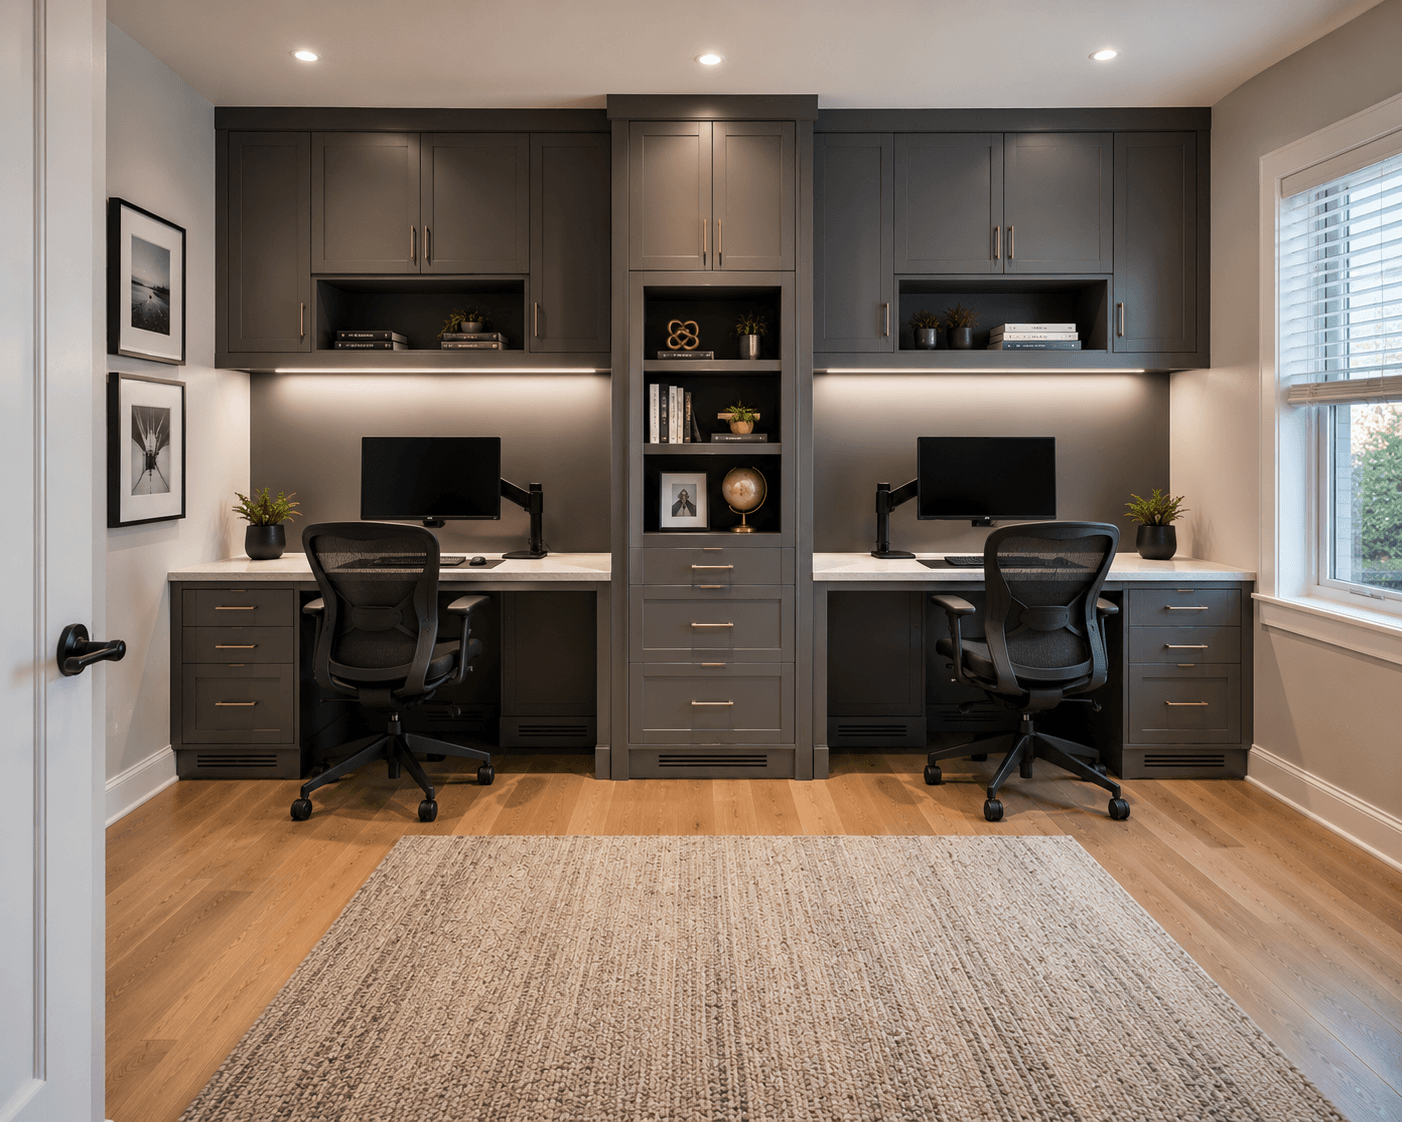
A Dual-Desk Home Office with Charcoal Built-Ins
July 21, 2026
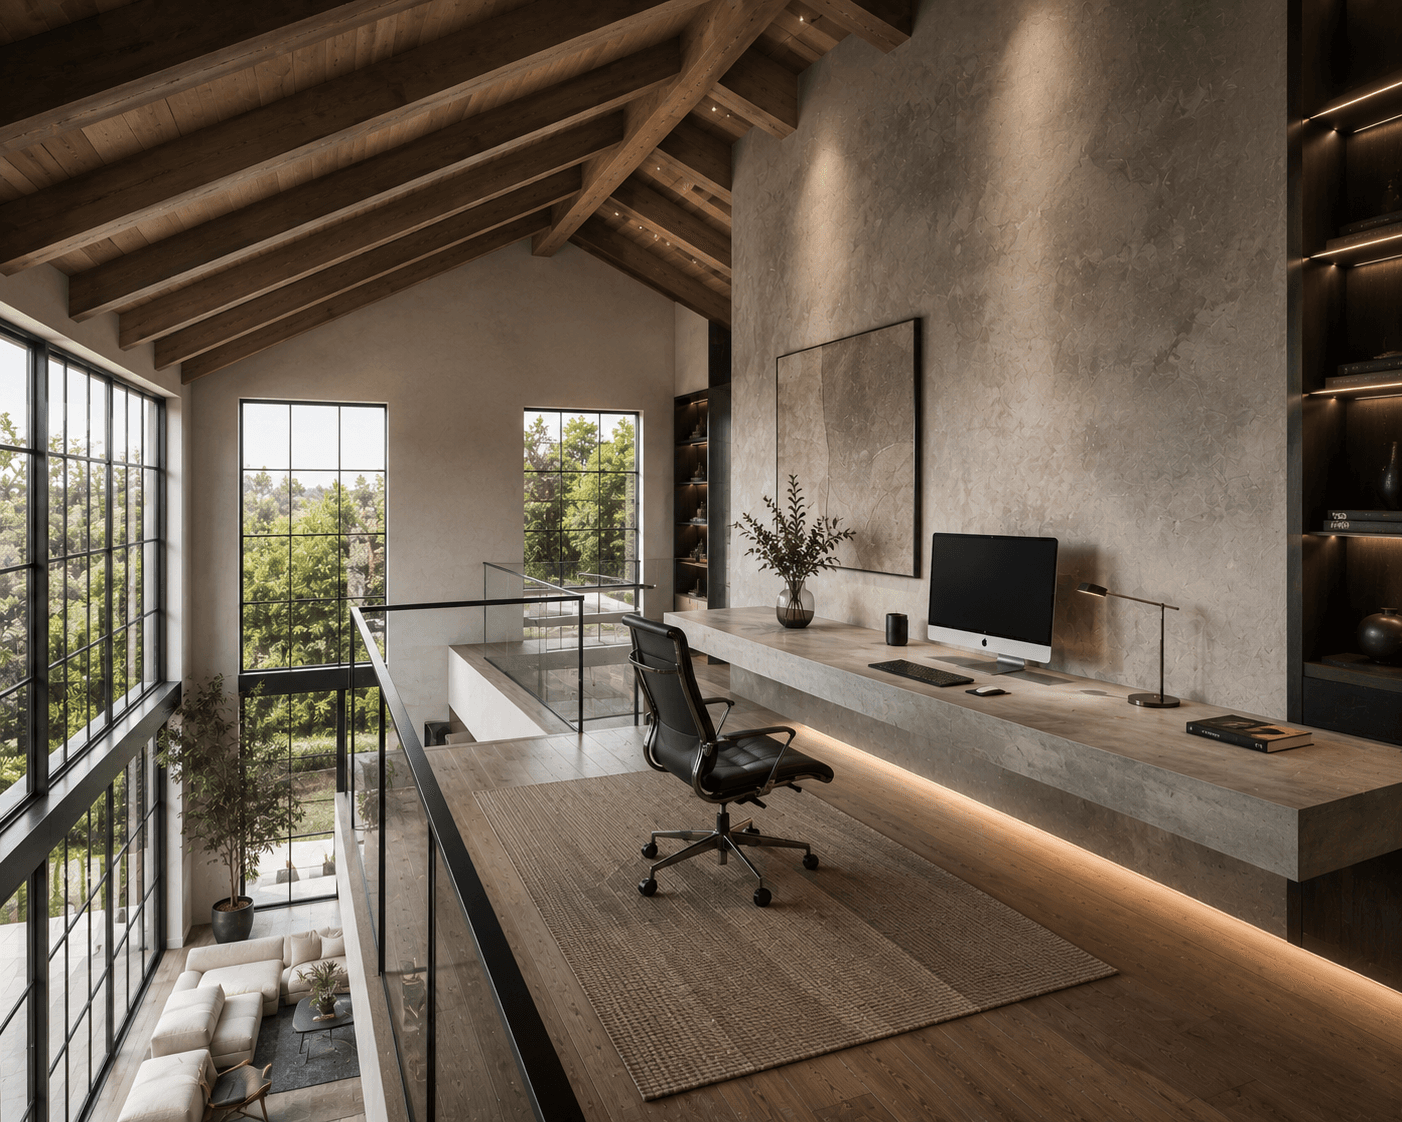
A Mezzanine Loft Office with a Floating Stone Desk
July 21, 2026
Join the conversation
Share your thoughts on this room.