
Kitchen counters are where clutter goes to settle: the toaster, the mail, the fruit bowl that became a junk bowl. The counter reset is a one-hour project with one rule — only three things live on the counter — and a storage system that keeps everything else exactly one step away.
Why it works
Clutter accumulates when items have no assigned home, so they rest where they were last used. The reset works because it does not just clear the counter — it assigns every displaced item a specific, reachable home, which removes the reason clutter forms in the first place.
The one-step rule is the load-bearing part. If putting the blender away takes one door-swing, you will do it; if it takes crossing the kitchen and restacking a shelf, you will not. Storage that matches how often you use each item is what separates systems that hold from systems that relapse by Friday.
Visually, clear counters make even a small kitchen read calmer and larger. Handleless and slat-front designs amplify the effect because closed storage reads as architecture rather than cupboards.
How to do it
Step 1
Clear everything off the counters onto the kitchen table — a genuinely empty counter resets your eye for what deserves to return.
Step 2
Pick your permanent three: the daily-use item (usually the kettle or coffee machine), the too-heavy item (stand mixer), and one thing you love (a bowl, a plant, a lamp).
Step 3
Audit the nearest cabinets and drawers, pulling out anything you have not used in six months. Relocate those to high shelves or out of the kitchen entirely.
Step 4
Assign every remaining countertop refugee a home no more than one step — one door or one drawer — from where you actually use it.
Step 5
Store by frequency: daily items at hip-to-eye height, weekly items one shelf up or down, occasional items high or elsewhere.
Step 6
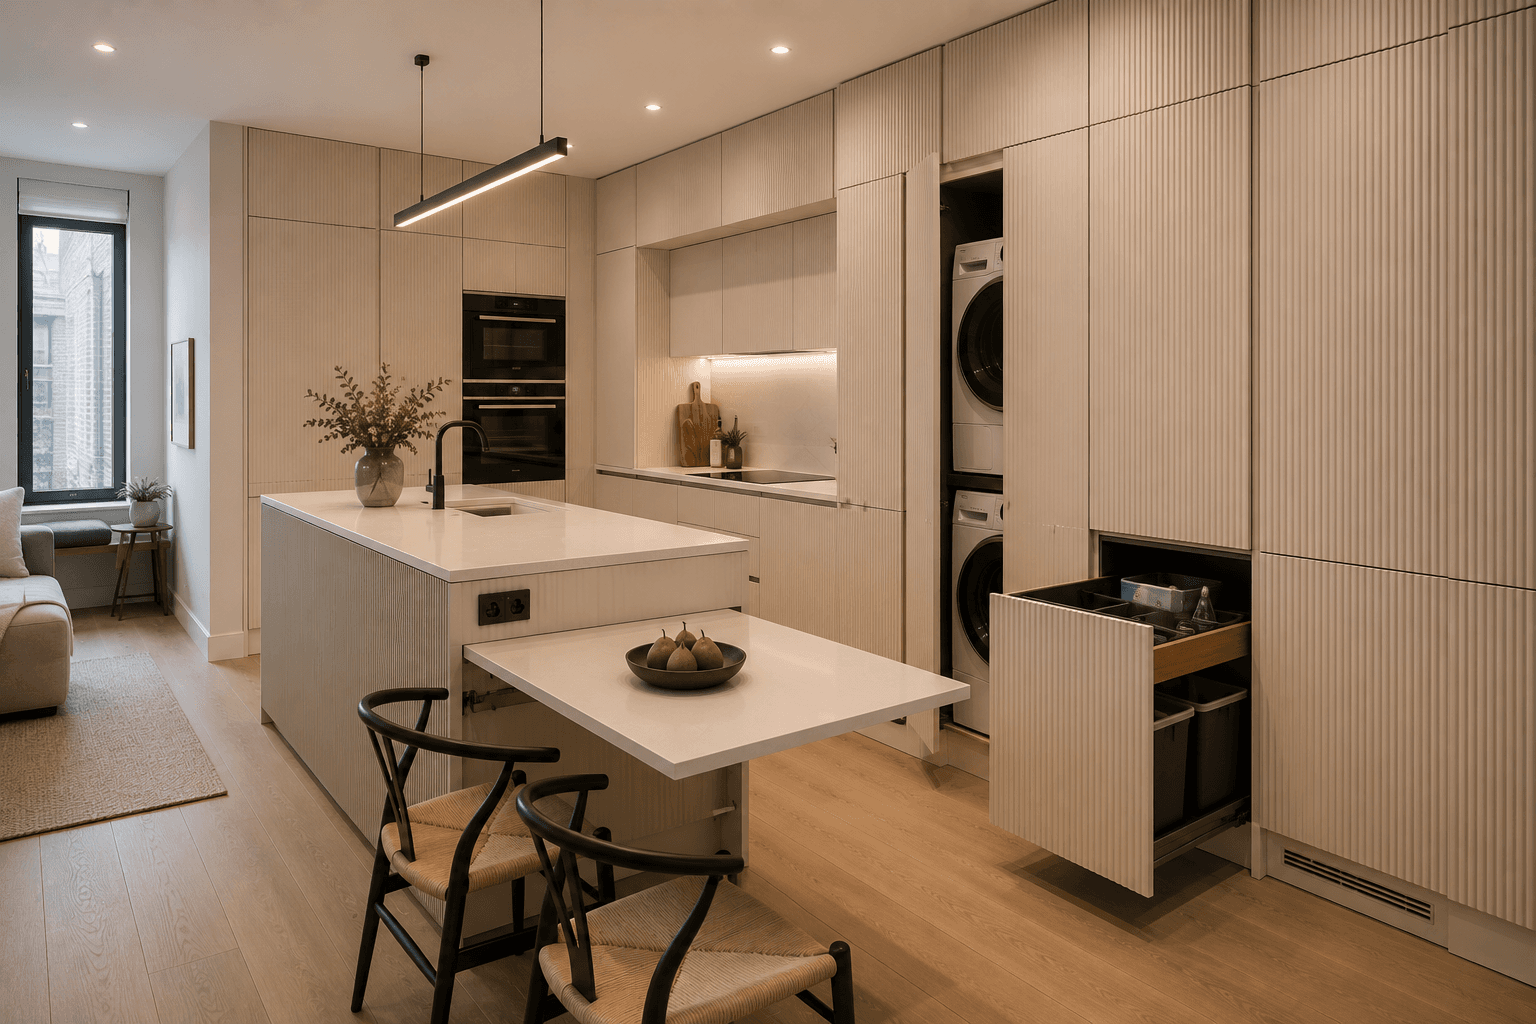
If a daily appliance has no good home, dedicate one counter-level cabinet as an appliance garage so it hides in place, still plugged in.
Step 7
Institute the sixty-second nightly sweep: before lights out, everything on the counter returns to its one-step home.
Keep organizing
- Zone Your Kitchen: The 5-Zone Storage System
- Small Kitchen Storage: Vertical Tricks for Tight Galleys
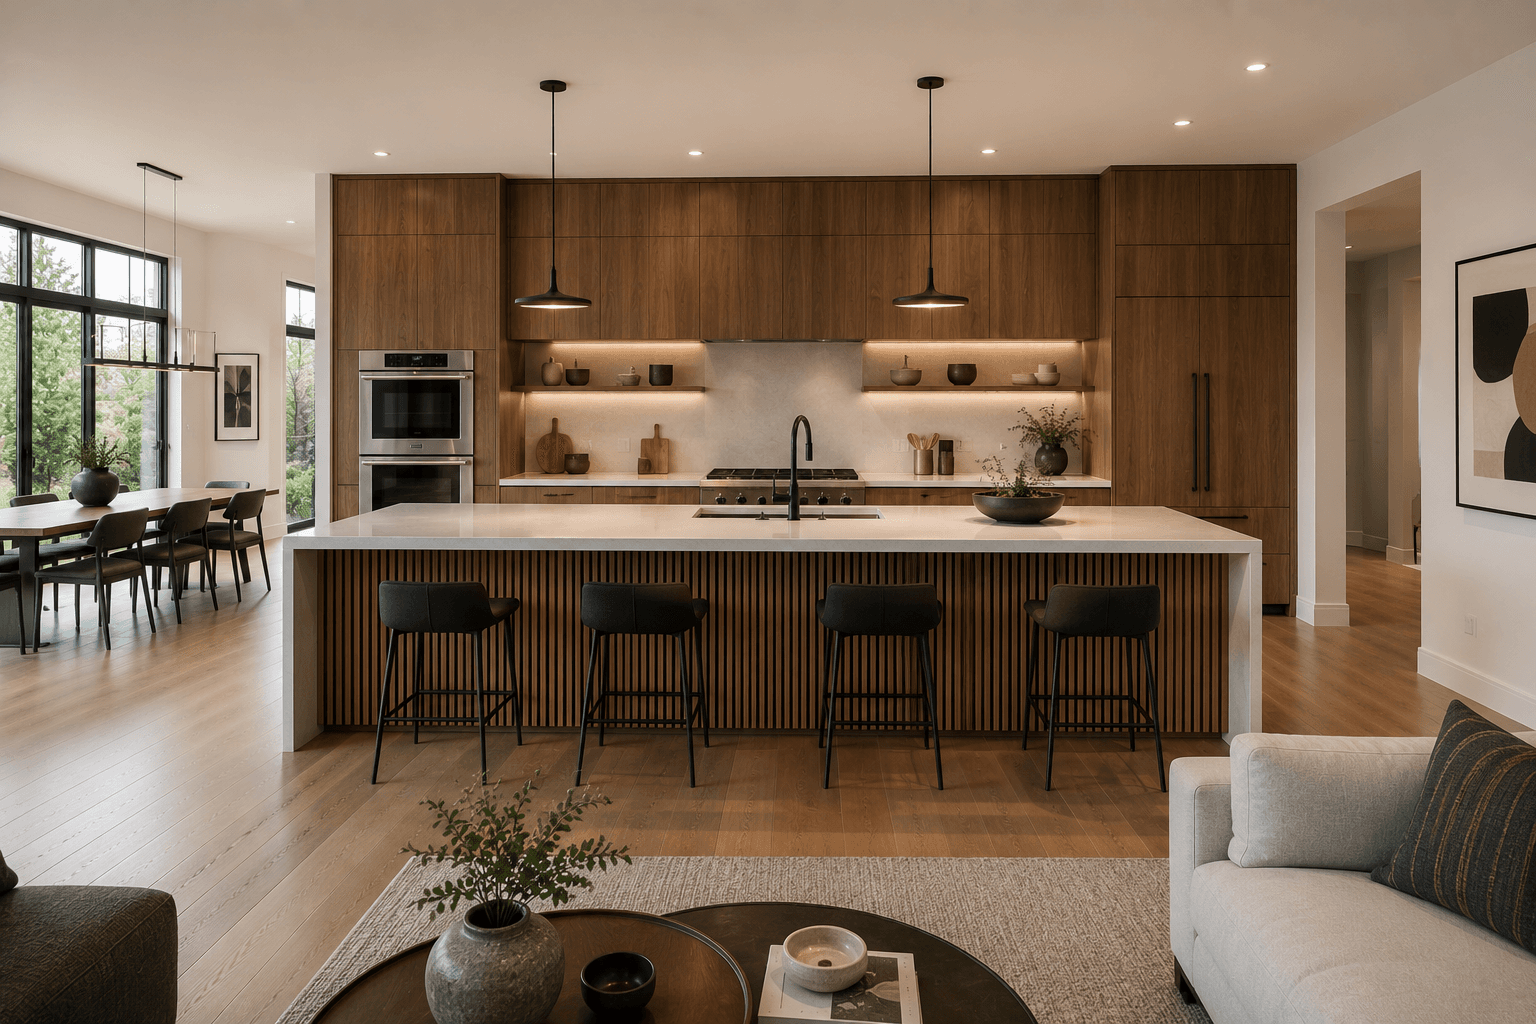
- The walnut slat kitchen this look comes from
Hand-picked guides and room designs that pair well with this project.
Frequently AskedQuestions
Keep only appliances you use every single day — for most kitchens that is one, maybe two. Everything used weekly or less earns a cabinet or appliance-garage home no more than one step from its point of use.
Do a cabinet audit first: most kitchens store rarely used platters, duplicate pans and expired pantry items at prime height. Relocate those to high shelves or out of the kitchen, and give the freed prime space to daily appliances.
A countertop-level cabinet with a lift-up or pocket door that hides the toaster or coffee machine while keeping it plugged in and usable in place — the best of both worlds for daily appliances.
Clutter migrates to the first flat surface inside the door. Intercept it earlier with a small tray or wall pocket in the entryway, and the kitchen counter stops being the landing strip.
Get the look
Room Designsto Steal
Join the conversation
Share your thoughts on this room.